Difficulty – Fairly Advanced
Duration – A Weekend
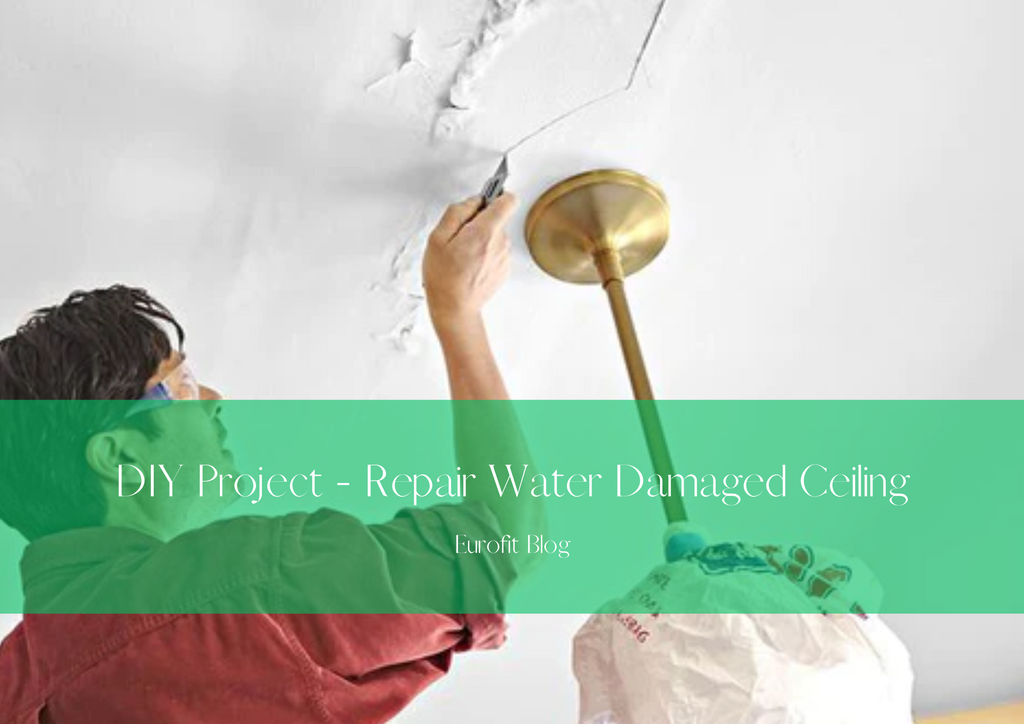
Leaking roofs and pipes can be really bad news for your home - even after they’ve been repaired! If water gets into your ceiling, it can cause some serious problems – rotting the plasterboard, promoting mould, and leaving you with a dirty brown stain. In more serious cases of water damage, you may need to completely replace the plasterboard – a costly job that’s best left to the professionals. However, if the damage isn’t too severe, then you may be able to repair it yourself – as long as you’ve got a reasonable amount of DIY experience (including skimming) and the right tools. Let us show you how in this expert guide.
You’ll Need
- Replacement plasterboard
- Trimming knife / plasterboard saw
- Jointing compound
- Scrim tape
- Plasterboard screws
- Sandpaper
- Ladder
- Plaster for skimming
- Tape measure
- Pencil
- Wire detector
Step 1 – Stop The Leak!
Before you can even start to think about repairing your water-damaged ceiling, you’re going to need to fix the cause of the damage. Whether it’s a leaking roof, or a burst pipe, find it and fix it first.
Step 2 – Let It Dry And Assess The Damage
You’re now going to need to wait until the ceiling has dried, before you can assess the extent of the damage. To accelerate the drying process, make sure your room is well ventilated. You might also want to try using a heater/dehumidifier to speed things along. Once it’s completely dry, you’ll be able to see how bad things really are. For tiny streaks and patches, you may simply need to treat the affected area to prevent mould, then repaint. Use an anti-fungal/stain blocker primer, then cover with a topcoat of paint. Larger areas, and any places where the ceiling is sagging or cracked will need a more comprehensive repair.
Step 3 – Cutting Away The Damaged Ceiling
Before you start cutting, use a wire detector to check for electric wires, and mark them on the ceiling with a pencil to be safe. Now, cut away the damaged section of plasterboard, to the nearest joist. This will give you a surface to attach the new section of plasterboard to. If you’re struggling to find the joists, then use a screwdriver to push through the damaged section to locate them before you cut. Try to cut the damaged section out fairly square, and in one piece. This will make it much easier to cut your new section to the right size.
Step 4 – Cut Your New Plasterboard
Before you start this section, make sure that you’ve got the right thickness plasterboard to match your existing ceiling. Carefully measure out the size of the hole you need to cover, then cut your new plasterboard to fit. If you’ve managed to remove the damaged section in one piece, you can even use it as a template to cut the new one from. If it’s an odd shape, then you can use multiple pieces, but the fewer pieces you use, the easier it will be to fit.
Step 5 – Hang The New Plasterboard
Replace any insulation you had to remove, and screw the replacement piece of plasterboard in place using your plasterboard screws. Next, apply a thin layer of jointing compound to the joints between your new boards and the existing boards, and apply a thin layer over the screws. Now, tape over the joins using your plasterboard tape.
Step 6 – Re-Skimming
Once the jointing compound is dry, you’re ready to re-skim the ceiling using some plaster, before feathering it into the existing ceiling to a neat finish. If you’re not sure on how to plaster, it’s best to leave this step to the professionals. However, if you’ve only replaced a small section, you can use an easy fill compound instead of plaster – just make sure you sand it thoroughly once dry.
Step 7 – Painting
Once your new layer of plaster is dry, you’re ready to re-prime and paint, and your ceiling should look as good as new!
How Eurofit Can Help
At Eurofit, you’ll find many of the tools needed to complete this ceiling repair project, along with many others, at the DIY tools section of our website. All our high quality, professional-grade tools are built to last, and are available at unbeatable trade prices.
